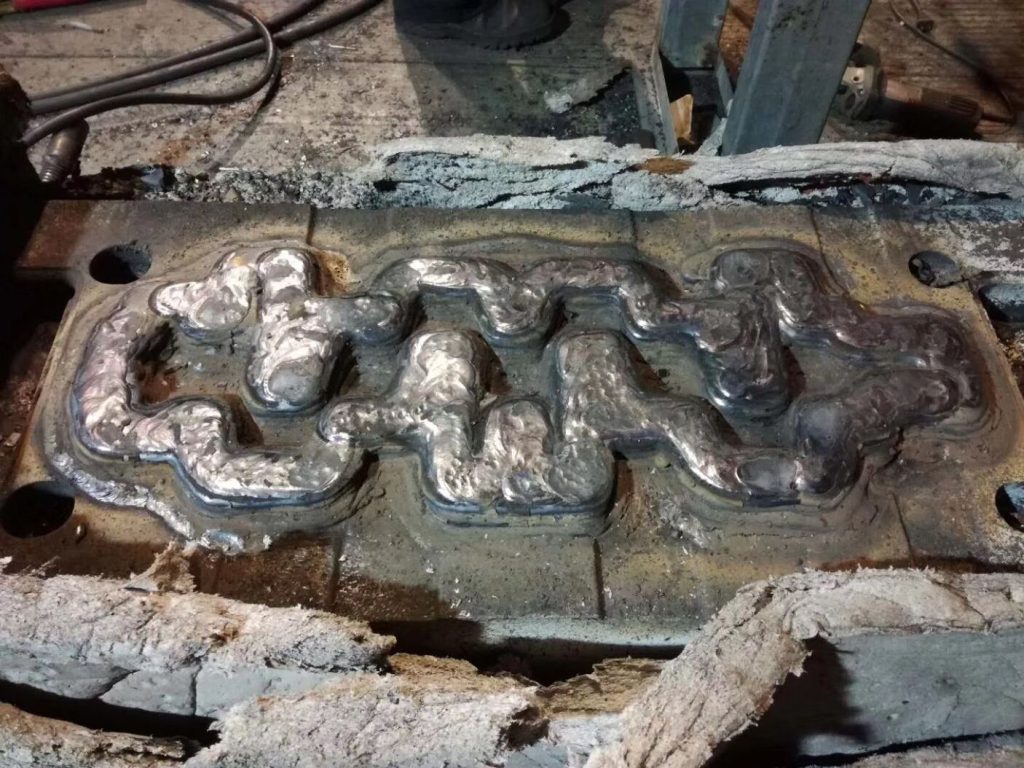
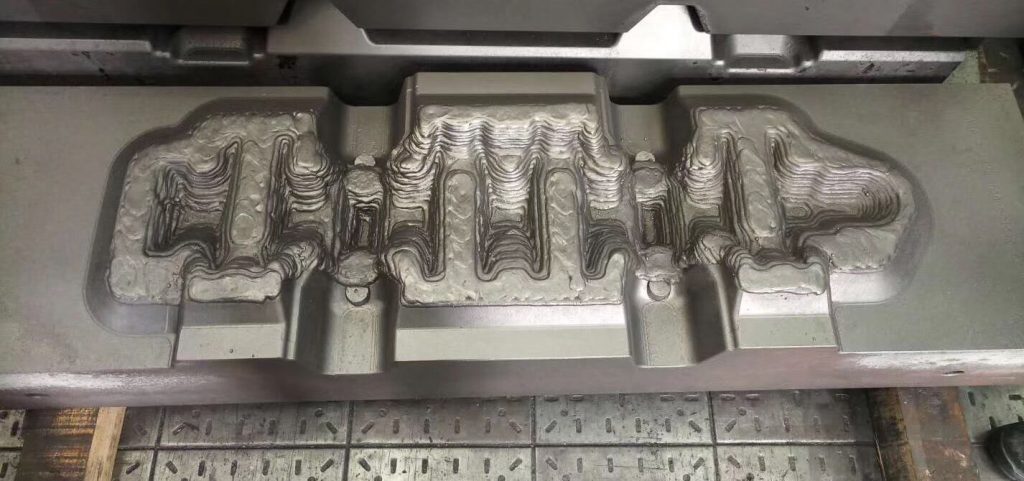
TECHNICAL GUIDE
Forging Die Repair Technical Guide
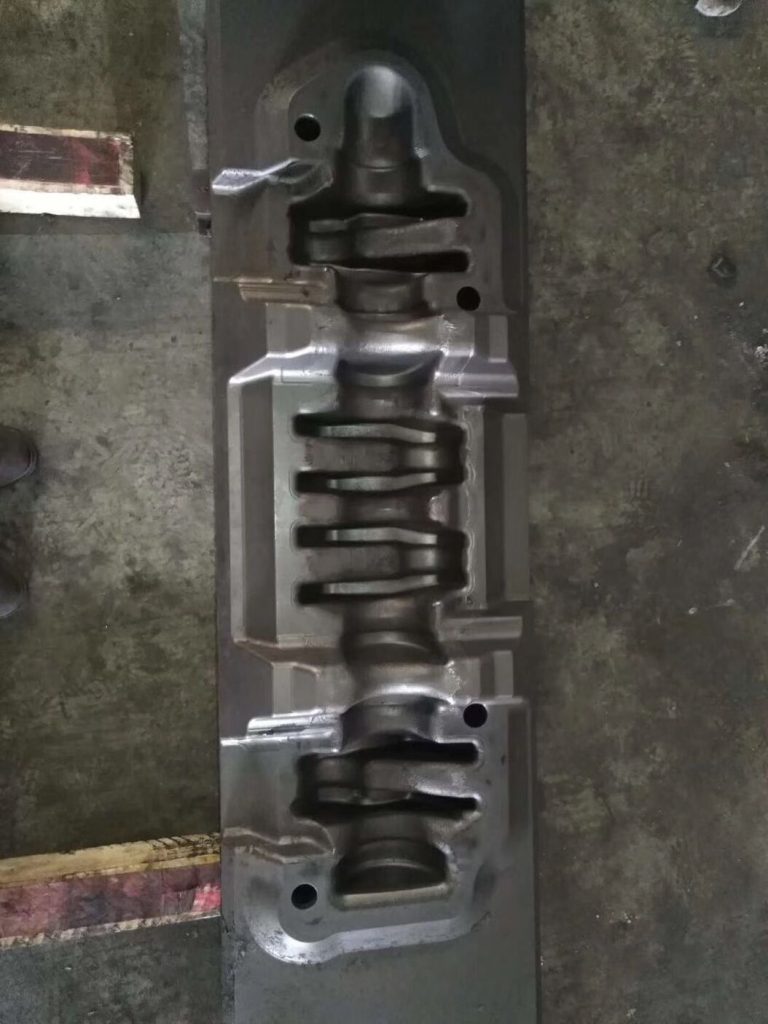
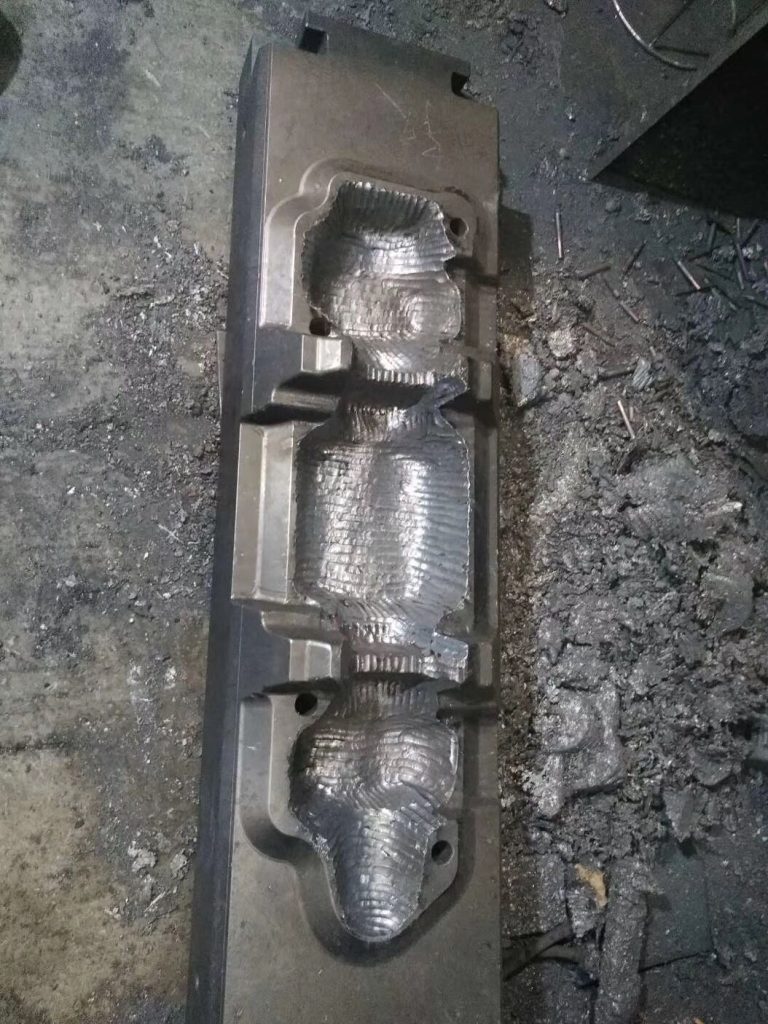
A standard welding repair procedure for rebuilding worn or cracked forging die cavities.
Forging dies are exposed to extreme thermal cycles, impact loads, and abrasive wear. A proper repair process is essential to restore cavity geometry, maintain hardness balance, and extend service life.
This guide outlines the typical repair workflow used in professional forging die restoration.


TECHNICAL GUIDE
Step-by-Step Cavity Rebuilding Procedure
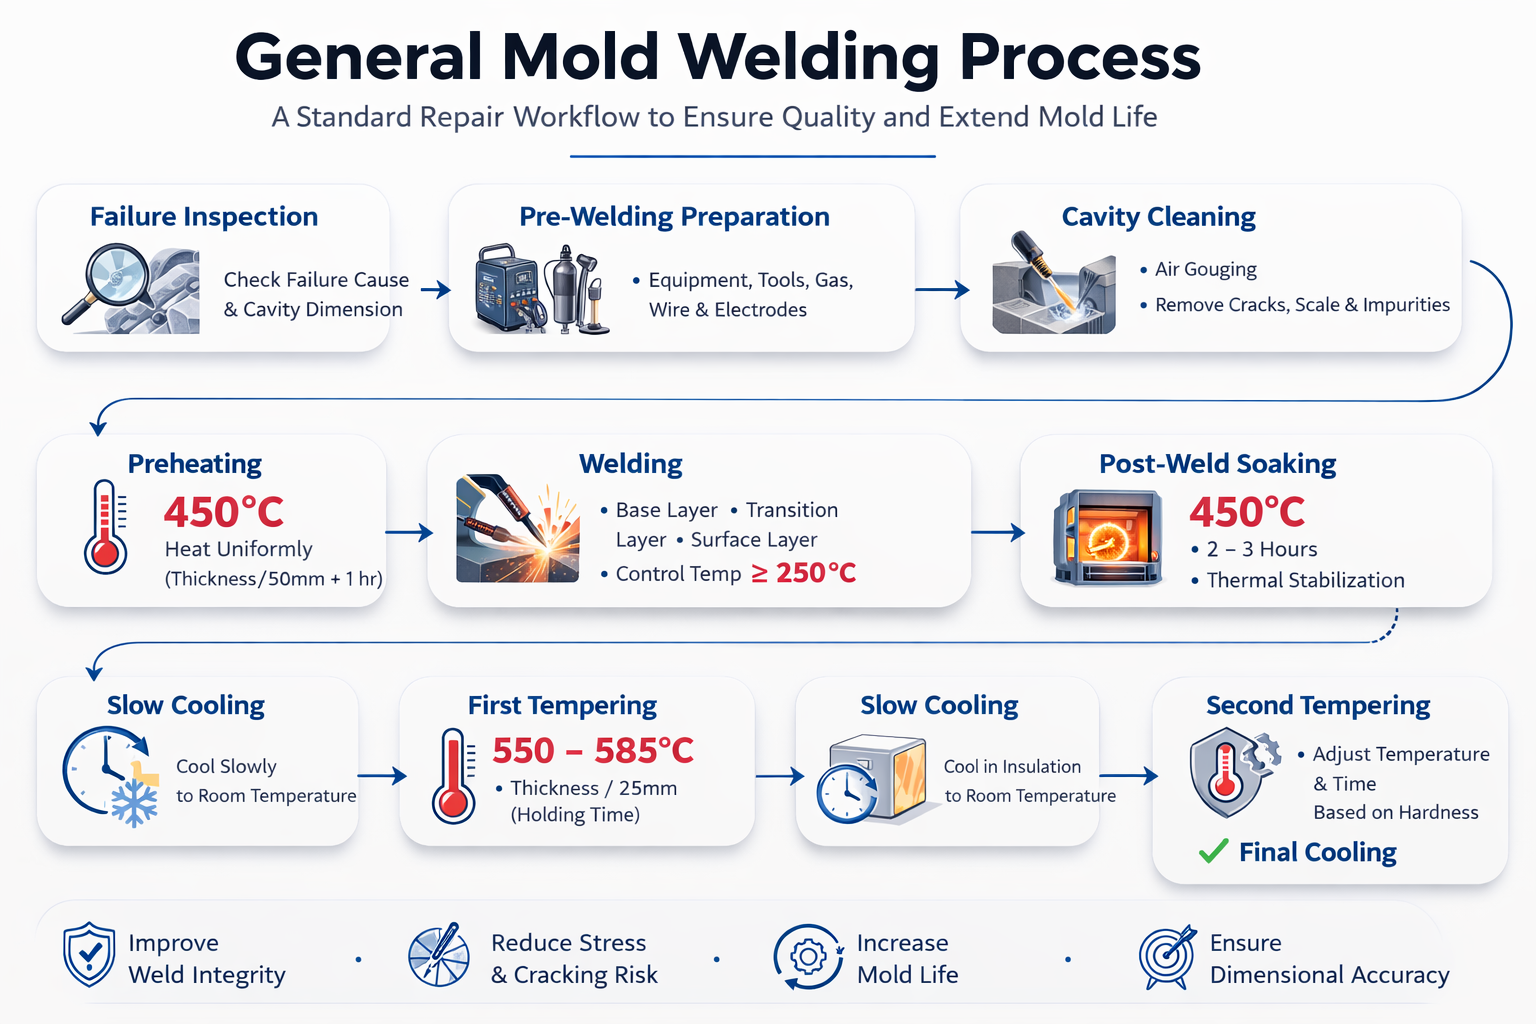
The forging die repair process follows a strict welding and heat-treatment procedure to restore cavity geometry, improve durability and extend tool service life.
The procedure includes inspection, cavity cleaning, controlled welding deposition and thermal treatment.
- Precision Cavity Restoration
- Controlled Heat Treatment
- Industrial Welding Standards
Inspection
Cavity Preparation
Welding Restoration
Heat Treatment
01 Die Inspection and Cleaning
Step Overview
Cleaning and inspection are the foundation of a successful mold welding repair process.
Key Action
Before welding begins, the damaged mold must be thoroughly cleaned, inspected, and measured to confirm cavity dimensions. Based on the inspection results, the correct repair method, filler material type, and required material quantity can then be determined.
Process Value
This step helps define a reliable repair strategy. According to the mold failure condition and service environment, different welding materials may be combined to achieve the intended repair result.
Highlights
- Condition Assessment
- Dimension Check
- Repair Planning
02 Pre-Welding Preparation
Step Overview
All necessary equipment, tools, and welding materials should be prepared before the repair process begins.
Key Action
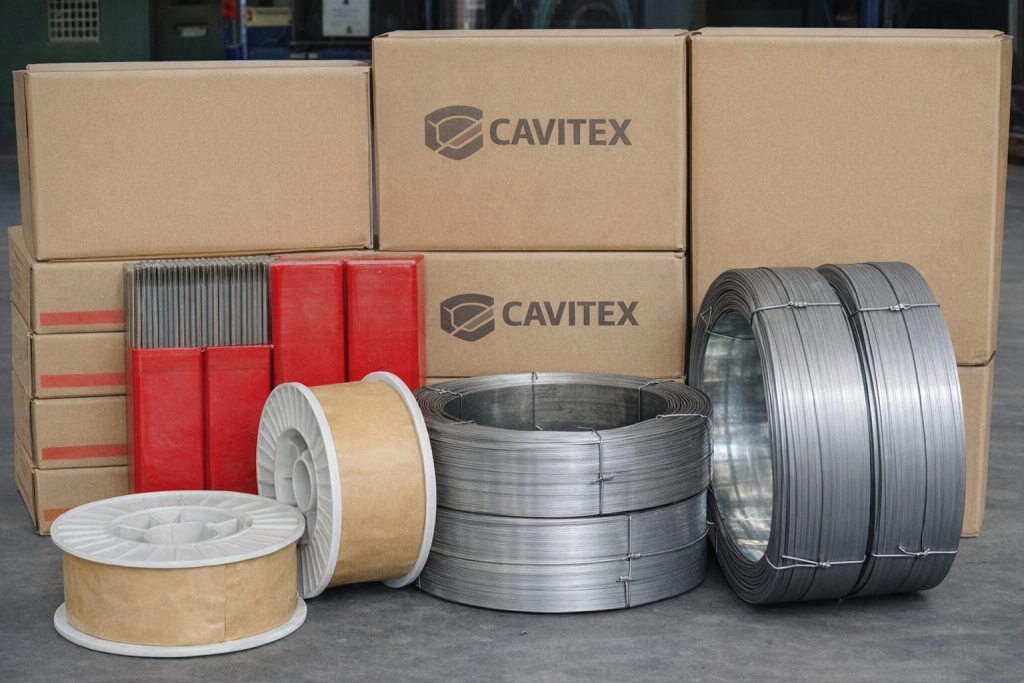
This includes carbon arc air gouging tools, protective masks, welding torches, air hammers, slag cleaning tools, measuring instruments, shielding gas, welding wire, and welding electrodes. Sufficient consumables should be selected according to the repair requirements.
Process Value
Proper preparation improves repair efficiency, reduces interruptions during welding, and helps maintain a more stable repair workflow.
Highlights
- Equipment Ready
- Material Selection
03 Cavity Cleaning (Air Gouging)
Step Overview
The cavity must be completely cleaned before welding to remove all damaged or contaminated material.
Key Action
Cracks, scale, fatigue layers, and all impurities inside the cavity must be thoroughly removed. Air gouging is generally used for this step, with a cleaning width of about 10 mm and an open groove angle of approximately 40-60° to ensure proper weld deposition.
Process Value
A clean and fully opened groove allows the welding wire or electrode to deposit correctly and helps prevent repair defects caused by incomplete crack removal.
Highlights
- Air Gouging
- Crack Removal
- 40-60° Groove Angle
04 Die Preheating
Step Overview
Preheating is a critical step in successful mold repair.
Key Action
Before welding, the mold should be uniformly preheated to 450°C to ensure the entire body is fully heated. The preheating time is calculated according to mold thickness:
Preheating Time = Mold Thickness / 50 mm + 1 hour
Process Value
Uniform preheating reduces thermal shock, improves weld stability, and creates better thermal conditions for the following welding process.
Highlights
- 450°C Preheating
- Uniform Heating
- Thermal Stability
05 Welding Deposition and Peening
Step Overview
Welding should be carried out according to cavity complexity, material condition, and temperature control requirements.
Key Action
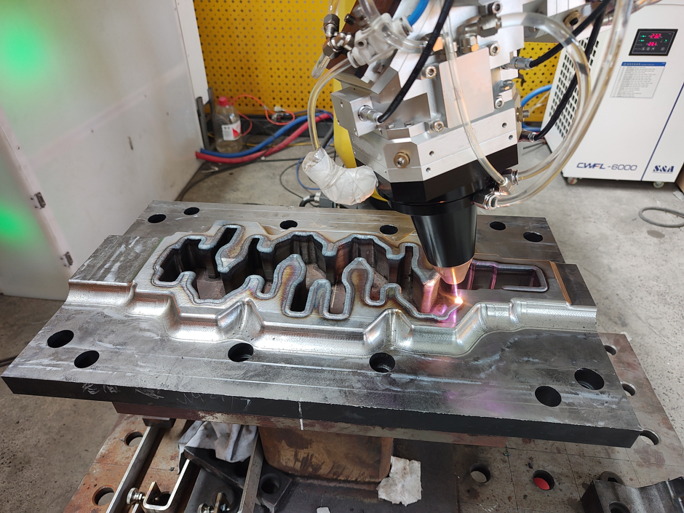
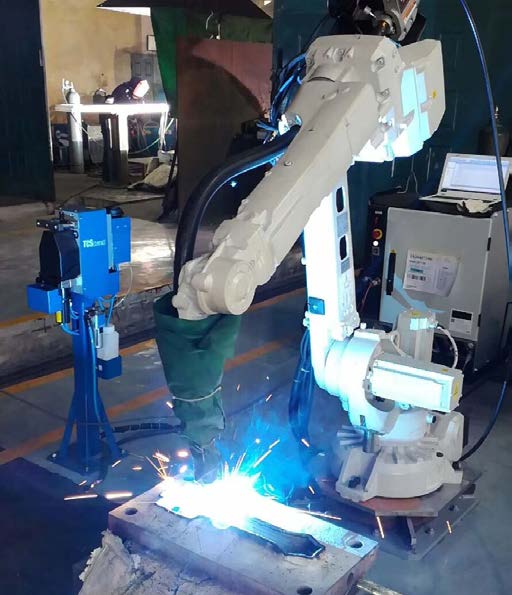
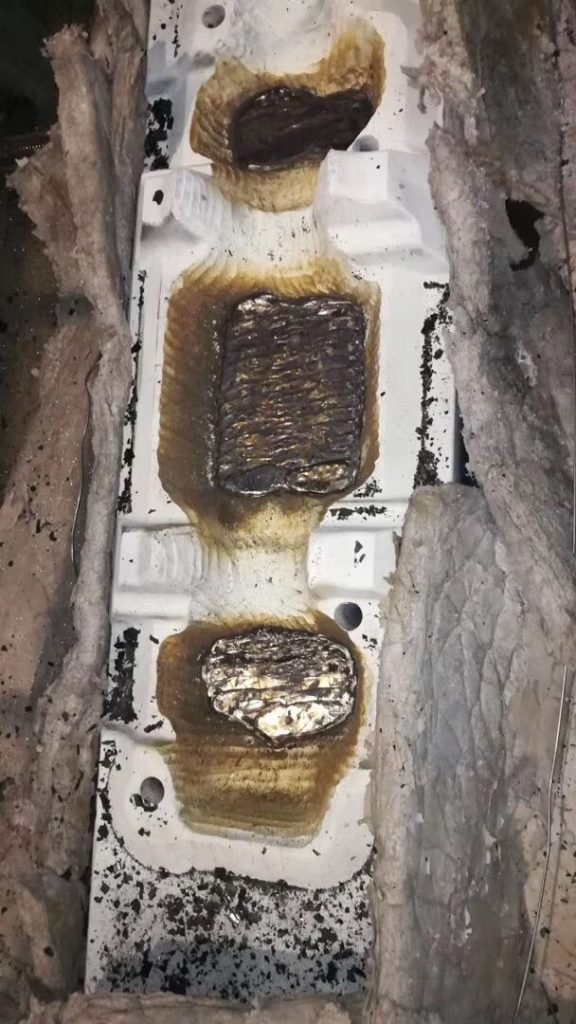
Depending on the complexity of the mold cavity, either CO2 welding or manual welding may be used. During welding, the mold should be wrapped with insulation cotton, and the mold temperature must not fall below 250°C. Different welding wires and electrodes should be selected according to the failure condition. The base layer, transition layer, and surface layer should all be planned carefully, and the weld dimensions should be checked during the process with measuring tools.
After each welding pass, the deposited layer must be fully peened with an air hammer or similar method. Slag inclusion, lack of fusion, and porosity are not allowed. If any defect is found, it must be removed before continuing.
Process Value
Controlled welding and peening help improve weld structure, reduce welding stress, and support a longer service life after repair.

Highlights
- Above 250°C
- Layered Welding
- Peening After Each Pass
06 Isothermal Treatment
Step Overview
After welding, the mold must immediately undergo soaking treatment for thermal stabilization.
Key Action
Once welding is completed, the mold should be placed into the furnace for 450°C soaking treatment. Depending on mold size, the soaking time is generally 2-3 hours. After soaking, the mold should be wrapped with insulation material or cooled slowly in the furnace to room temperature.
Process Value
Slow cooling after soaking helps the mold achieve a more balanced microstructure and toughness, which improves performance during later service.
Highlights
- 450°C Soaking
- 2-3 Hours
- Slow Cooling
07 Tempering and Stress Relief
Step Overview
Tempering is carried out to relieve welding thermal stress and achieve the required toughness and hardness of the repaired layer.
Key Action
After soaking treatment and cooling to room temperature, the first tempering can be performed. According to different filler materials, the temperature is generally set between 550-585°C. The holding time is based on mold thickness:
Holding Time = Mold Thickness / 25 mm
During tempering, the furnace door must remain closed. After the holding time ends, the mold should be removed and cooled slowly to room temperature under insulation protection. Hardness should then be checked after the first tempering.
Process Value
This stage reduces internal stress and helps establish the required balance of hardness and toughness for the repaired mold cavity.
Highlights
- 550-585°C
- Stress Relief
- Hardness Check
08 Final Tempering and Cooling
Step Overview
The second tempering stage is adjusted according to the hardness result after the first tempering.
Key Action
During second tempering, both temperature and holding time should be adjusted based on the measured hardness after the first tempering. After the second tempering, the same controlled cooling procedure should be repeated, and hardness should be checked again to confirm whether it meets the target requirement.
Process Value
According to the welding process document, soaking treatment and second tempering can significantly reduce the risk of mold cracking and improve repair stability.
Highlights
- Hardness Adjustment
- Controlled Cooling
- Reduced Cracking Risk
No In-House Repair Capability?
If your facility is not equipped to perform die repair, CAVITEX can restore the cavity at our factory and return the die after inspection and heat treatment.
FORGING CASE
Forging Die Repair Process (Case Study) : Welding Repair to Restore Die Cavities
FORGING CASE
Forging Die Repair Process (Case Study): Restore Die Cavities & Extend Die Life